Check out full details and more pictures here:
About this item
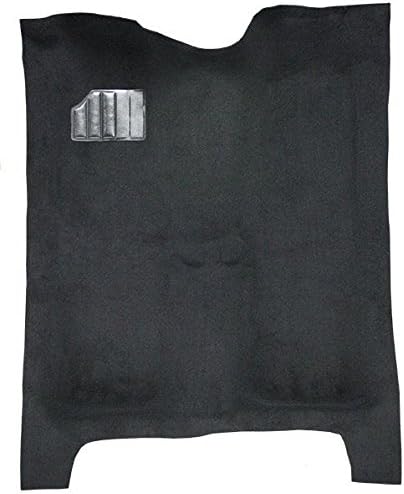
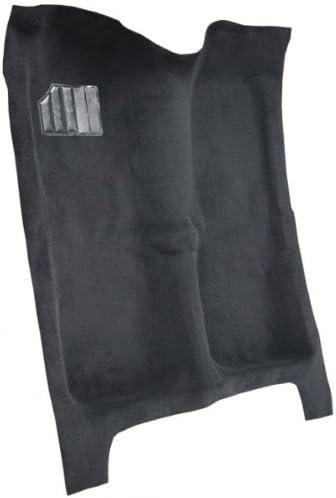
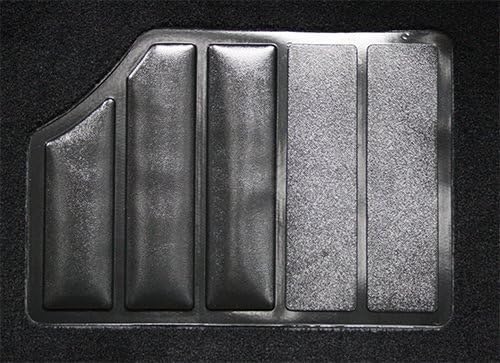
- This item is made in 801-Black Plush Cut Pile carpet. The item image may be a different color, but the SWATCH image is the correct color. Carpet Fits 2 Door. Unless otherwise noted, the jute padding is heat bonded to the backside of the carpet and a heel pad is welded to the correct location.
- Holes may not be cut in automotive carpet and carpet may require trimming to install. PLEASE FIND THE INSTALL INSTRUCTIONS ON THE HELP TAB IN OUR STORE DETAILS PAGE.
- Automotive carpet compatible with Chevrolet Monte Carlo will be Heat and Pressure formed using a form that was created from the original floor pan. Carpet is guaranteed to fit to the floor when installed correctly.
- All automotive carpets are Made in USA with Top Quality auto carpet materials. IF YOU ARE NOT 100% SURE OF THE COLOR/MATERIAL YOU NEED, PLEASE CONTACT US BEFORE ORDERING.
- Automotive carpet will fit just like original carpet when installed correctly and is Guaranteed against Defects. This item fits the years: 1978 1979 1980 1981
Product Description
- This automotive carpet will be made in 801-Black Plush Cut Pile. Other colors and materials may be available in the selection above.
- This aftermarket carpet is a replacement for 1978 to 1981 Chevy Monte Carlo, 2 Door.
- Carpet will be made with standard flexibe polyethylene backing. Contact us to upgrade to massbacking
- Unless specified, the jute padding will be attached in the foot area of the carpet
- Installation may require trimming around the edges and the holes may need to be cut.
- There is a large variety of colors available. Please request free samples if you want to match a specific color
- This item fits the years: 1978, 1979, 1980, 1981, 78, 79, 80, 81
READ FULL INSTRUCTIONS BEFORE BEGINNING - Instructions may vary for multi-piece sets
1. Remove new product from box. Lay flat and pop contours back into place. Allow a few hours for product to relax back into proper shape. Check material for accuracy
2. Compare new and old carpet
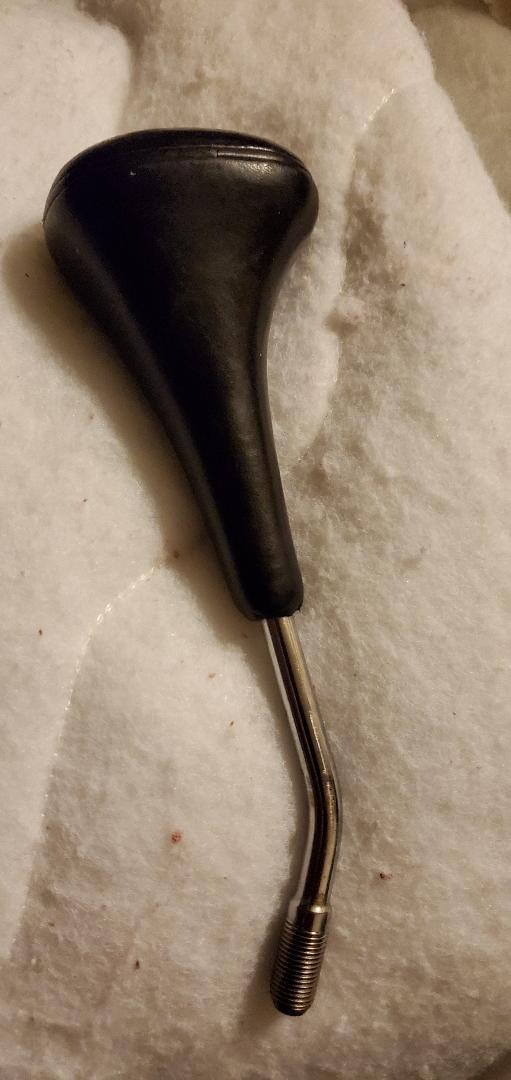
3. It may be necessary to use old carpet as a template for console cuts
4. IMPORTANT: Fold new product in half from front to rear. Place in vehicle lining up molded contour to seat risers or any other identifiable starting point on both driver and passenger sides. Once fitted, continue installation
5. Roll product forward make cuts for brackets, shifters vents etc while maintaining proper alignment on seat risers or other starting point
6. Cut in center at firewall to allow product to go underneath dash
7. Continue same procedure for remainder of installation – working your way to outer edges
8. Once product is properly fitted you are now ready to do the final trimmings on outer edges, seat belts and holes etc.
Note: If adhesive is desired, only apply a light brush or spray adhesive after correct dry fit has been obtained.
